| Photos of Tel Lachish |
|
LMLK Home Biblical Accounts NonBiblical Accounts Theories HBRN MMST SUKE ZYF Generic x (cannot classify) 2-Top 2-Divided 2-Undivided 4-Cursory 4-Lapidarist Jars Personal Seals Incisions Paleography Typologies Corpus Stratigraphy Geography Displays Publications Credits Updates 
|
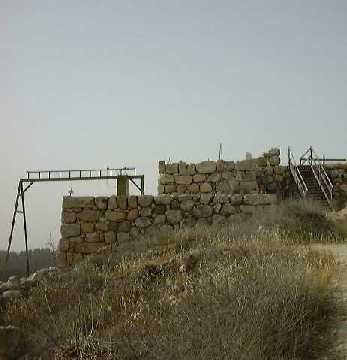
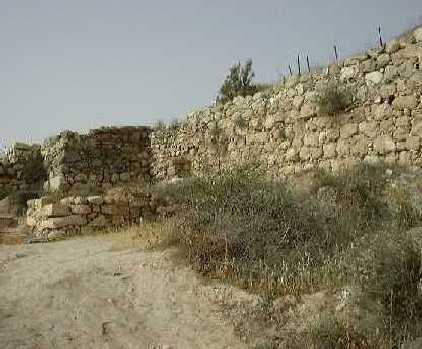
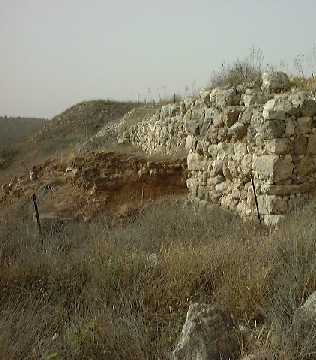
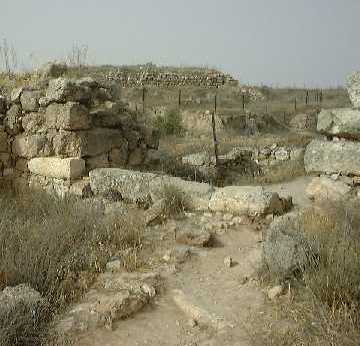
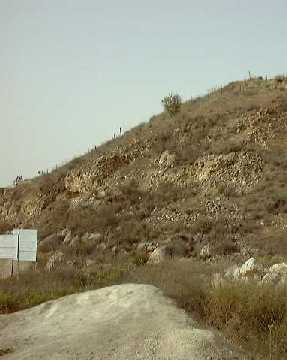
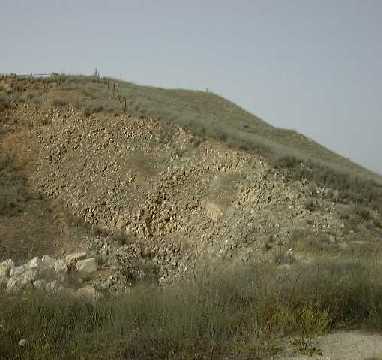
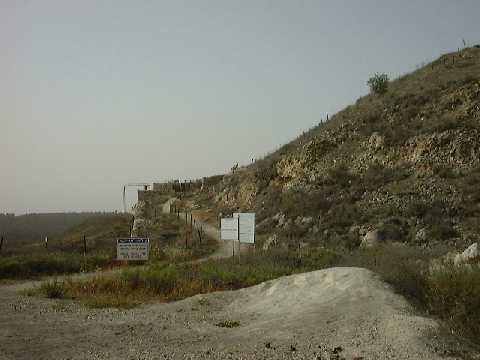
This series of photos gives you a feel for what it is like to visit Tel Lachish (Tell ed-Duweir) especially around the southwest corner where Sennacherib's army overran the site. All of these photos are public domain, courtesy of an anonymous visitor to the site who cares about Israel's rich Biblical history & the preservation thereof.
 A panoramic view at the end of the path leading up to the outer gate between the inner and outer walls:
The overall gate complex & surrounding valley where the Assyrian army encamped as viewed from the Israelite counter-ramp: 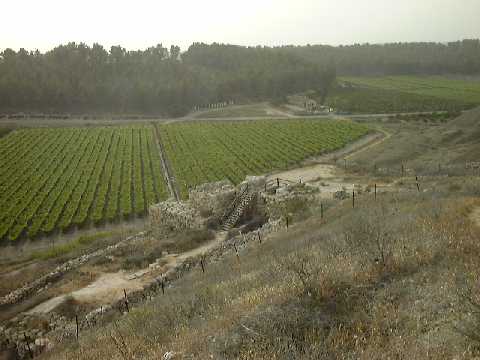 A panoramic view outside the inner gate:
Close-up inside the inner gate:  The 3 inner gate rooms where many of the restorable LMLK jars were found: 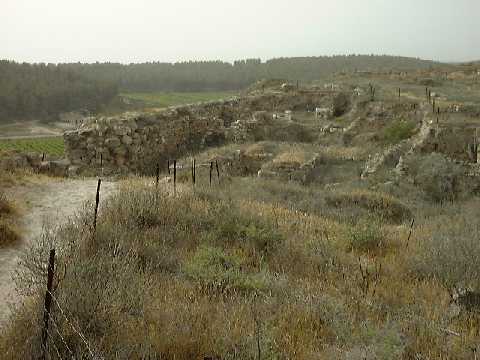 The palace-fort complex including podia, the main architectural structure in the middle of the tel, as viewed from the Israelite counter-ramp (there were more LMLK handles found scattered across the surface of this tel than in any single excavation at any other site in Israel): 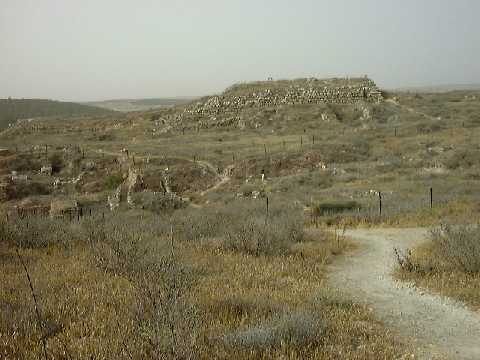 One of the outer walls facing the Assyrian siege-ramp: 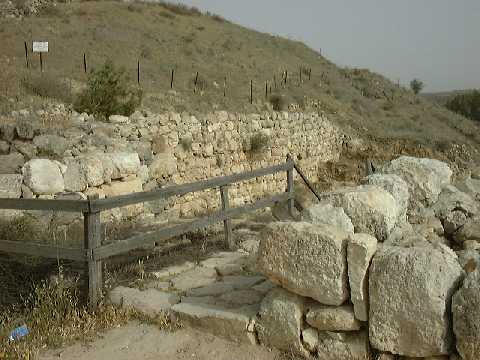 A panoramic view of the Assyrian army's siege-ramp at the southwest corner of the tel:
Lachish remains ... a broken capital: 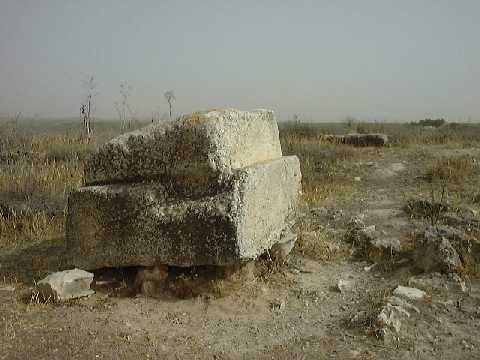
|
|
Number of visits: |
This page was created on February 12, 2005, & last updated on February 12, 2005 |