| LMLK Seals in the Michael Welch Collection |
|
LMLK Home Biblical Accounts NonBiblical Accounts Theories HBRN MMST SUKE ZYF Generic x (cannot classify) 2-Top 2-Divided 2-Undivided 4-Cursory 4-Lapidarist Jars Personal Seals Incisions Paleography Typologies Corpus Stratigraphy Geography Displays Publications Credits Updates 
|
This page summarizes the private collection of Michael Welch. The following commentary was written by him for publication on this website:
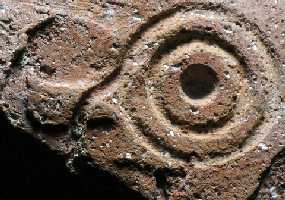
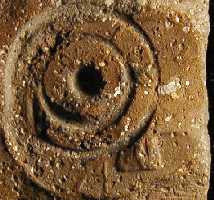
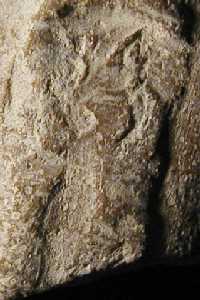
Hi!!!!! My name is Mike Welch. I first heard about LMLK handles in Jerusalem at the Institute of Holy Land Studies when Dr. Gabriel Barkay taught the course, The History of Jerusalem: From Earliest Times Through 586 B.C. Dr. Barkay had been a chief archaeologist at the renewed excavations at Lachish, where over four hundred LMLK handles had been discovered in the 20th century. Dr. Barkay had also found a couple of LMLK handles on the Institute grounds. It would have been considered located at the Western edge of the city of Jerusalem during the time of King Hezekiah. Dr. Barkay is an infectious, enthusiastic teacher, and I caught a love of LMLK handles from him. There are probably not as many mistakes in the whole West Semitic seal corpus as there are on the twenty plus seals that were the LMLK seals. This is highly unusual. The impressions are also generally poor. This is also highly unusual. I view the entire process as one centralized hurry up and get the job done before Sennacherib gets here event. Getting the job done was more important than quality. Stress is evident from the four-winged scarab seals with letters backwards and vestigial letters to the LMLK seal with the extra tic in the right top of the two-winged sun disc. It looks like King Hezekiah chose around four maybe five engravers of the seals. At least one of them probably had been an engraver in the Northern Kingdom of Israel, as evidenced by the Z2U and Z2D seals. The extra tic on the Zayin is characteristic of the Samaria Ostraca. King Hezekiah also chose between fifty and sixty Royal Officials. Their job was to oversee the creation and filling of the jars. I figure between two and five thousand jars were created. I believe that clay was dug out of various spots in the Land of Israel, perhaps the Shephelah, as has been suggested, and brought to Jerusalem. In Jerusalem, probably sixty plus potters used the different clays and formed the jars. Twenty plus officials stamped the jars with the various LMLK stamps. Around fifty or sixty officials periodically stamped the jars with their own personal seals. Just as some officials stamped their own seals at least twenty-seven times and some officials stamped their seal or seals only once, the same is true for the LMLK seals stamping. Some seals were stamped a lot; some hardly at all. There seems to be some struggle going on between the potters and the officials concerning the sealings. The potters seemed to want to wet smooth the handles around the seals to get rid of fingerprints and make the jars look pretty. This also tended to make the sealings less good. Also, the Timnah jar, with a LMLK four-winged Sokoh stamp on the edge of a handle, caused by a hard or already fired LMLK impression shows that it was a quick process. They were having fired jars next to wet jars. Perhaps between ten and twelve kilns were used to fire the clay jars. Some of the kilns were poorly maintained and produced under-fired jars of a blackish brown ware. Some of the kilns were adequately maintained and produced a high quality red-brick ware jar. There were several different kilns maintained in a medium range and produced a medium mostly gray ware jar. This excellent website shows the many different classifications of pottery types, whose handles usually bore a good variety of the twenty plus possible LMLK seals' impressions, and the fifty to sixty plus personal seals' impressions. Concerning concentric circles, with information obtained on this excellent website, I have come to several conclusions concerning concentric circles. The LNRA/SBNA personal seal was excavated at Beth Shemesh, a site which was destroyed by Sennacherib and not rebuilt right away. The same impression from the same exact seal, number 687, 22a, on this website under personal seals, was stamped next to an H2U impression and also concentric circles were cut right next to the same exact seal on a different LMLK handle, which can be found on the circles section of this great website. This information, combined with my malformed concentric circles handle (ID #91) made on wet clay before firing, brings me to the conclusion that the concentric circles were generally cut into LMLK jars immediately after firing, when the jars were empty. It appears that Professor James B. Pritchard was right after all concerning the Concentric Circles as a Cancellation Mark. Researchers just have been focusing on the wrong level of Society. It was not a Cancellation Mark into Private Use. It was a Cancellation Mark into God's Use or the Priestly Use of the Goods. It VERY quickly changed from a Cancellation Mark, cut into one of King Hezekiah's Stamps, to basically a Designation Mark, cut next to or very near to one of King Hezekiah's Stamps, indicating a change from King's Property to God's Property. Only a handful of the Plus Marks and the Concentric Circles were incised directly into King Hezekiah's LMLK Stamps. The norm, once the Plus Marks were replaced by the Concentric Circles, was to incise the Concentric Circles next to the stamp but not into the stamp. At least once when the Concentric Circles were incised into the stamp another set was incised nearby out of respect for King Hezekiah. The internal signs were staring scholars in the face all along: The incised Xs or Plus Marks over some of the LMLK Seals; the Concentric Circles' Marks incised into some of the LMLK Seals; the pre-fire drag marks near some of the LMLK Seals (caused by the different metal tools doing the incising); Oreb the Nobian, a Priest having his seal stamped on a LMLK Jar handle; the ratio of about 1 cc jar to every 10 LMLK jars, thus King Hezekiah was tithing even the emergency LMLK produce to God; and finally, these cc jar handles are mostly found in the Jerusalem area, where the majority of the priests were located. The empty LMLK jars were then sent to one of four regions in Judah to be filled with mostly wine and perhaps other produce such as olive oil and grain. Hebron provided the most jars and probably did double duty as the main administrative distribution center. MMST (possibly a place just North of Jerusalem in the Egyptian Temple Complex built by Solomon for Pharaoh's Daughter), Sokoh, and Ziph provided less but pretty much equal amounts of jars of produce. The LMLK jars' purpose was to provide some emergency food and drink relief during a siege by Sennacherib to any Judahite that needed it. Many of the LMLK jars were destroyed during the invasion of Sennacherib. Some of the handles' impressions were cut in half by the battle axes of the Assyrian soldiers. Some of the jars, probably less than half, survived and were reused throughout the 7th Century B.C. The LMLK type jar was replaced or evolved into the rosette type jar, which was similar but smaller. This happened perhaps as early as King Josiah or his son or grandsons. To me the study of LMLK handles has entered a new and exciting phase. Even though LMLK handles were first excavated in Jerusalem in 1868, it was only with Dr. Andrew G. Vaughn's Doctoral Thesis work on them in 1996 that the real scope of their significance was first touched. It is interesting that an engineer, following in the footsteps of Sir Charles Warren and Sir Flinders Petrie, will probably have the biggest impact on the study of LMLK handles with this website and upcoming series of books on them. For the first time, under Dr. Vaughn, a paleographical chart of the letters found on the Royal Officials' seal impressions was set forth. And now a paleographical chart, based on computer photography and not hand drawing, has been set forth by this website. This is a fantastic new development in the study of epigraphy and paleography!!! Dr. Vaughn's analysis concluded that a seal could only be dated to within a century, because of the letter variations contained on the Royal Officials' impressions. Now with the LMLK seals' letters, the gap has widened even further in my opinion to three hundred years (i.e., +-150 years). It is interesting that the very clear and beautiful M4L example in the Redondo Beach collection shows both cursive and lapidary letters on the same seal impression!!! To me, Royal Officials seals' impressions, LMLK seals' impressions, concentric circles, and incised Xs deserve the type of study that this website is trying to do. There is no better antiquity than LMLK handles. We have a rock solid certain period of time that the stamps were made in the clay, during the reign of King Hezekiah, one of the greatest Kings of Judah!!!!! What a privilege and a thrill to work on and study such a subject as this!!!!!!!!!! Click here to read my review of the book, "LMLK--A Mystery Belonging to the King vol. 1" General statistics:
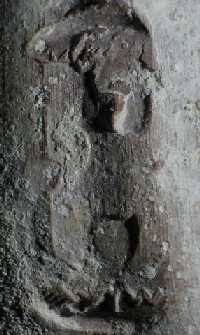
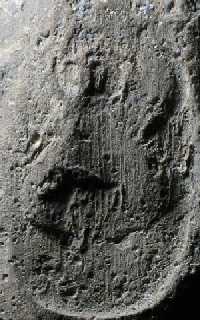
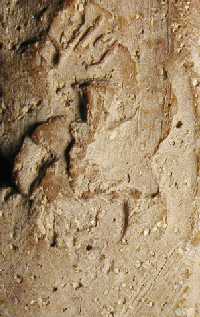
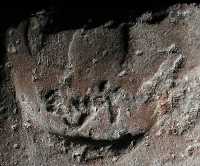
In addition to the LMLK stamps shown below, this collection also includes these special artifacts related to the LMLK phenomenon:
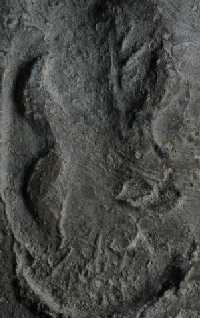
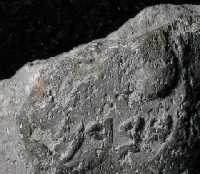
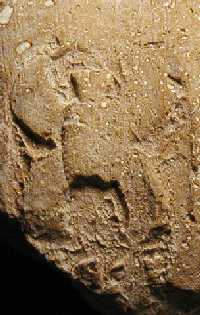
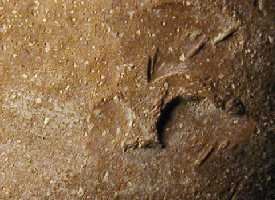
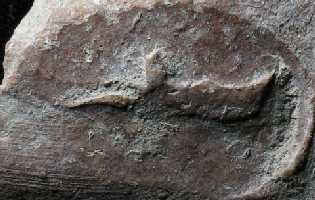
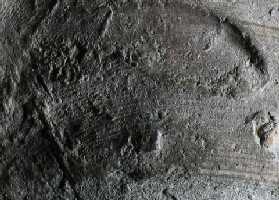
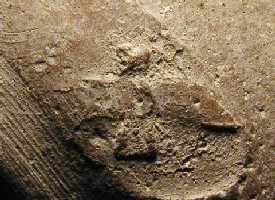
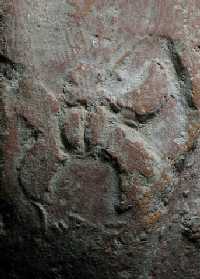
G2T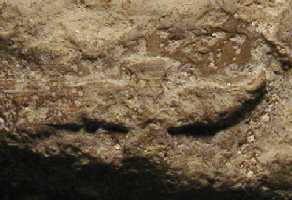
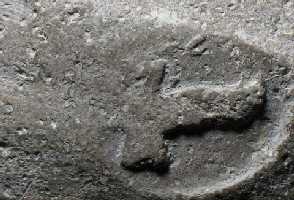

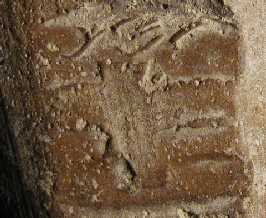
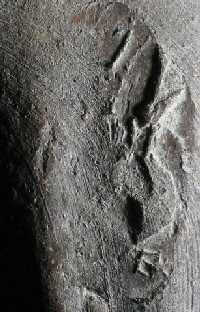
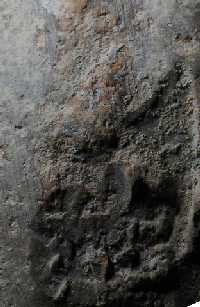
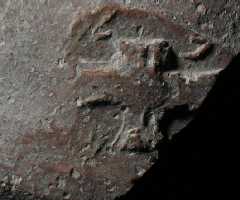
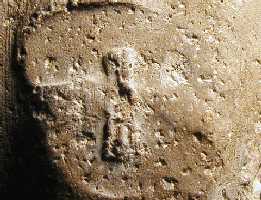
H2D
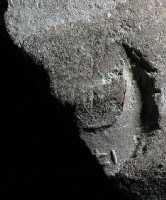
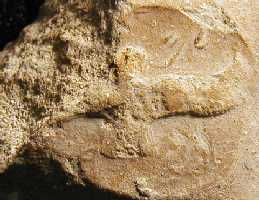
 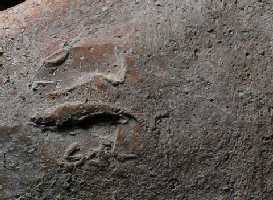
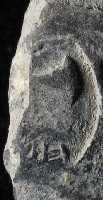
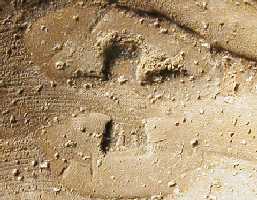
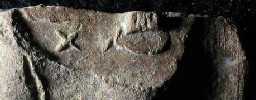
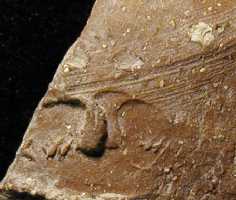
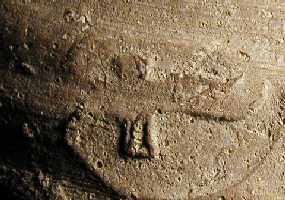
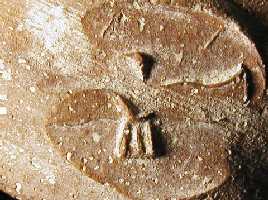
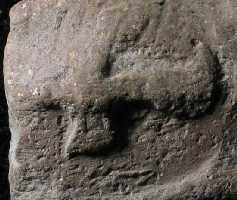
 Note: Stamped once at 6:00 & 3 times at 3:00.


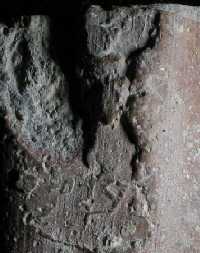
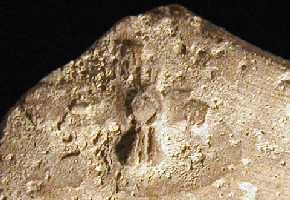
H2T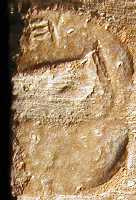

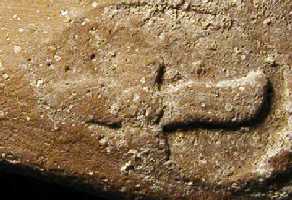
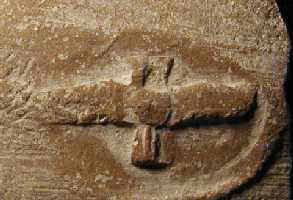
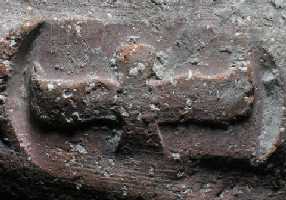
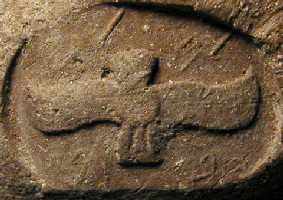
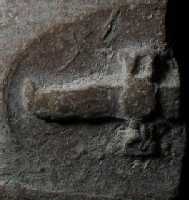
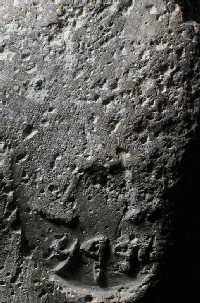
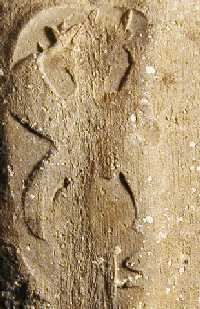
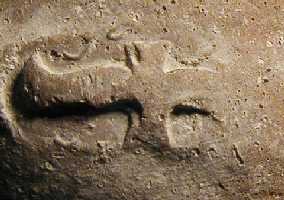
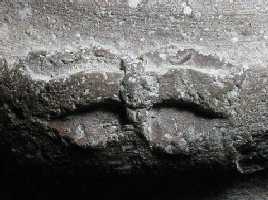
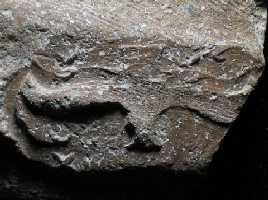
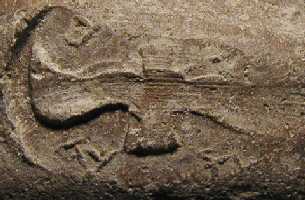
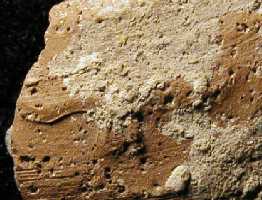
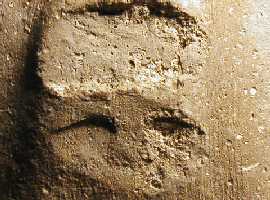
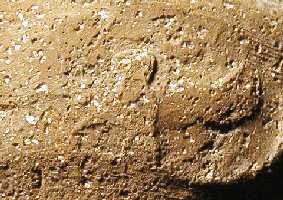
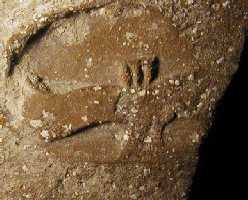
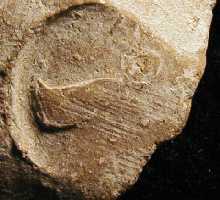
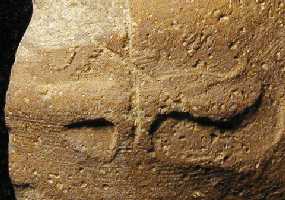
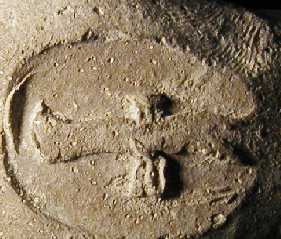
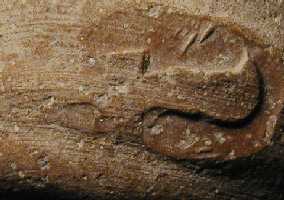
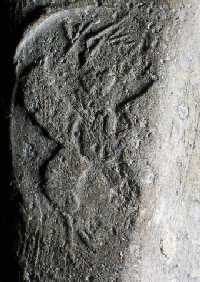
H2U
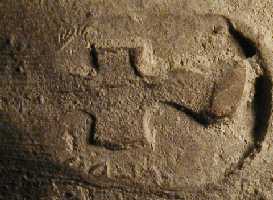
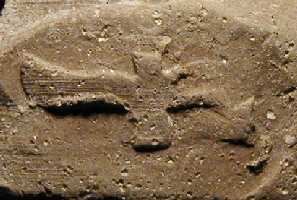
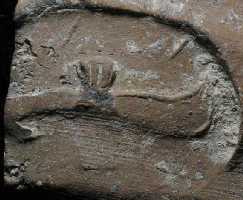
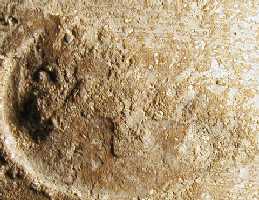
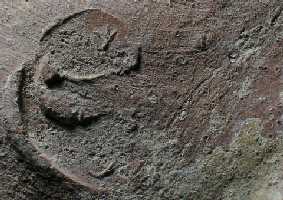
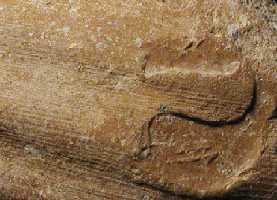
 Note: The smaller oval to the left is probably a fingerprint of the person who stamped the LMLK impression but it could also be a messed up Personal Seal.
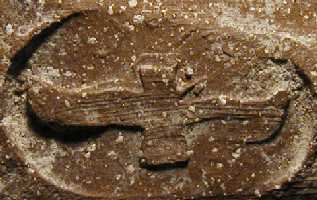
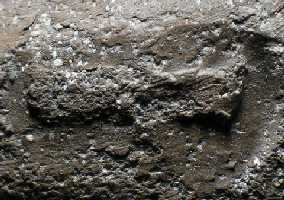
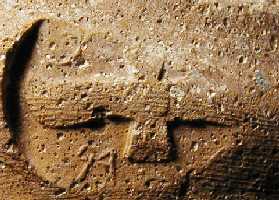
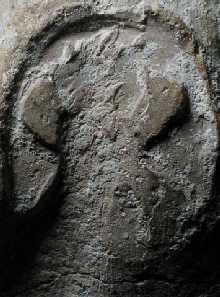
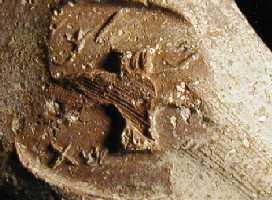
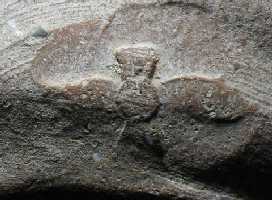
H4C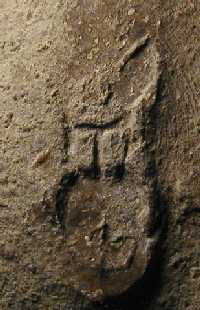

H4L

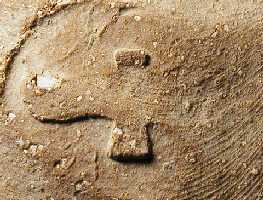
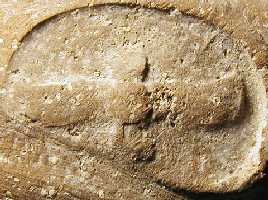
M2D
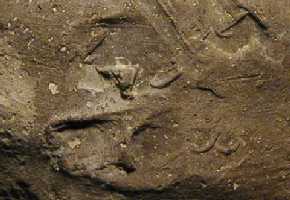

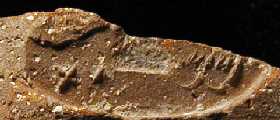
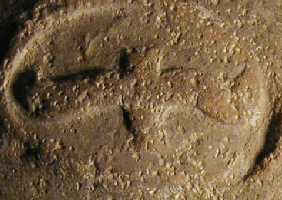
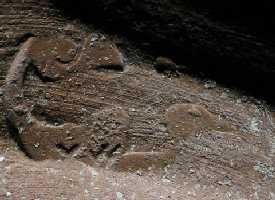
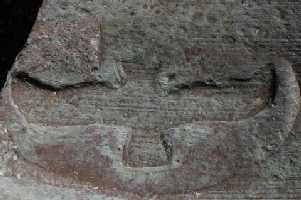
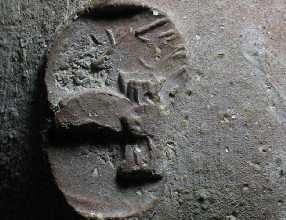
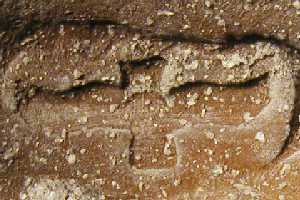
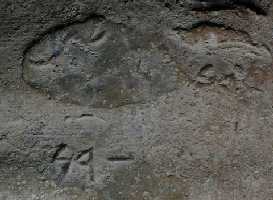
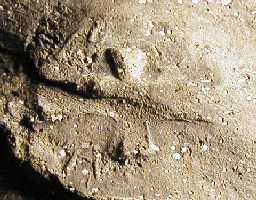
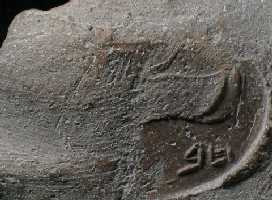
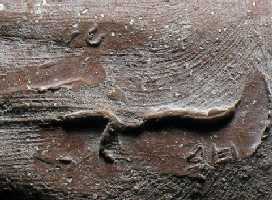
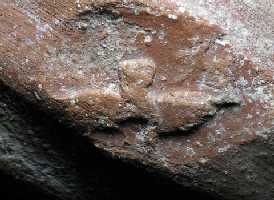
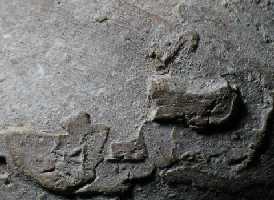
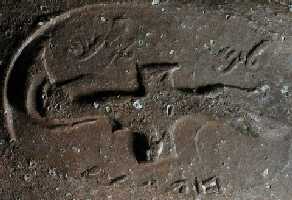
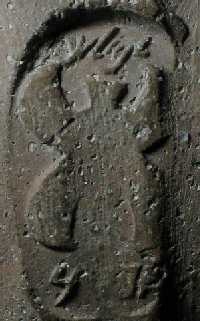
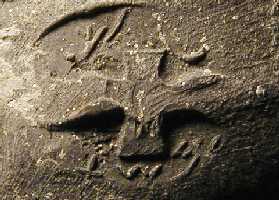
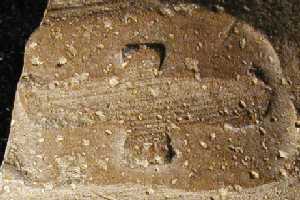
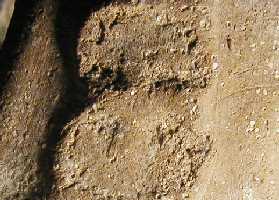
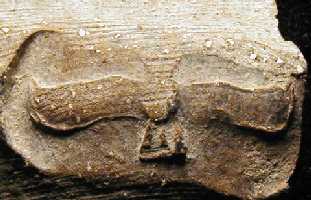
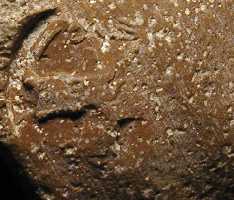
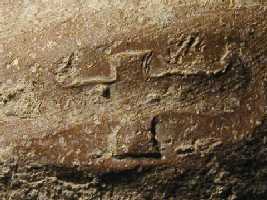
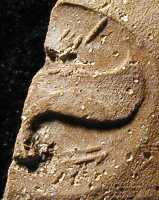
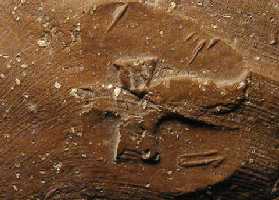
M2T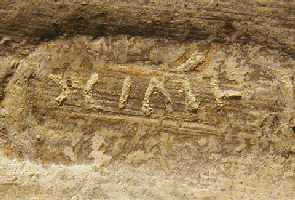 Note: The 6-symbol incised inscription on this handle is very similar to the 7-symbol inscription on IHCP #207 in the Welch collection.
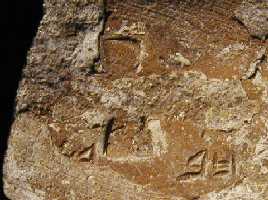
M2U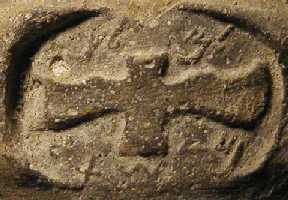


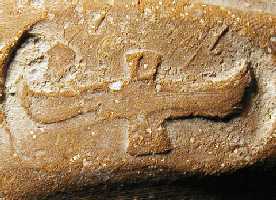
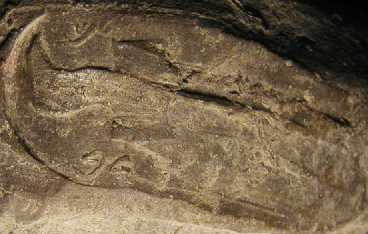
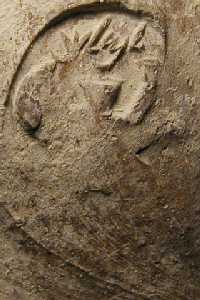
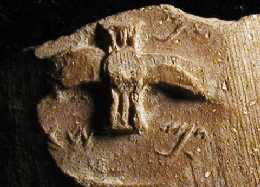
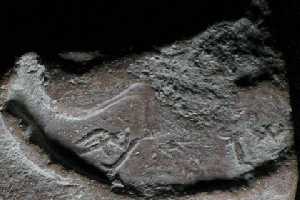
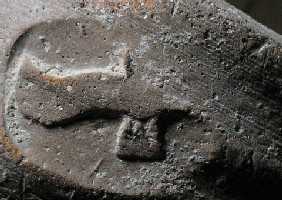
M4L
S2DR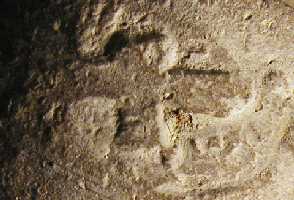
S2DW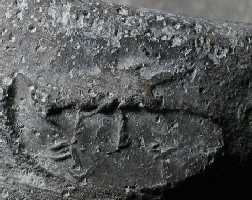
S2U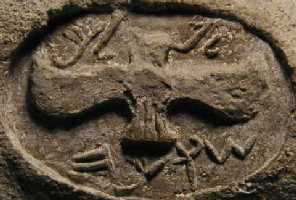
S4L

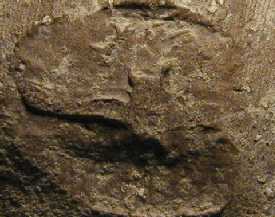
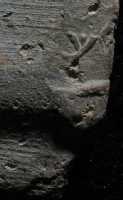
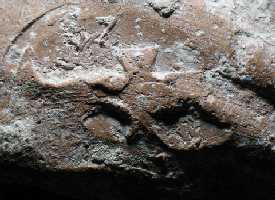
x2U Note: Probably an H2U; possibly a Z2U; the apparent tau in the bottom-left register is probably a speckle, not a letter
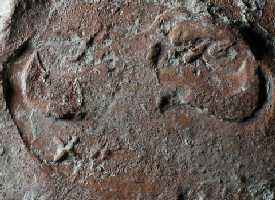
x2x Note: Either an H2D or Z2D
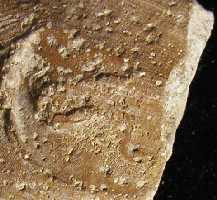
 Note: probably H2D, possibly M2D, Z2D, M2U
 Note: Probably an H2D; possibly a Z2D
 Note: Probably an H2D; possibly a Z2D
 Note: Probably an Z2T; possibly an M2D, S2DW, or Z2D
 Note: Probably an H2D; possibly a Z2D
 Note: Possibly H2T, M2D, M2U, S2DR, S2DW, or Z2U
 Note: possibly H2U, S2DW, Z2D, Z2U, or a 22nd seal; the relative positions of the wing and letters most closely resemble the Z2D, but the center stroke of the Kaf design is different than the one in the Z2D; also what appears to be the icon's Head is much closer to the Kaf than on any known x2x seal, but it might be a stray piece of clay & not really the icon's Head.
 Note: Probably a Z2D; possibly a G2T
 Note: Probably a Z2D; possibly an H2D
 Note: Probably an H2D, possibly a G2T, M2D, M2U, S2DW, or Z2D
 Note: Either an H2D or Z2D; seal was twisted slightly making wings appear slightly downward; letter remnant in the bottom-left register may be the "R" from the left H2D stamp or "P" from the right Z2D stamp
 Note: Possibly an M2U, M2D, H2D, or Z2D
 Note: probably H2D, possibly M2D or M2U
 Note: Probably an H2D; possibly a Z2D
 Note: Either an H2D or Z2D
 Note: Probably a Z2D or an M2D; possibly an H2D or an M2U
 Note: Possibly an H2D, H2T, or M2U
 Note: Probably an H2D, possibly an M2D
 Note: Probably an H2D; possibly an M2D
 Note: Probably a Z2D; possibly a H2D
 Note: Possibly an M2U, M2D, H2D, or Z2D
 Note: Probably a G2T 4:00 but many other possibilities; concentric discs in center of icon are similar to M2D handles from Nasbeh (M2339) & Shiloh's City of David (#26)
x4L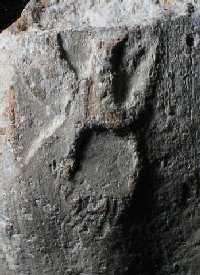 Note: either an H4L or M4L
 Note: Probably an S4L; possibly an H4L
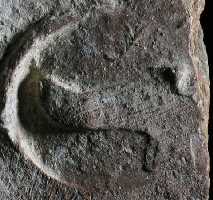
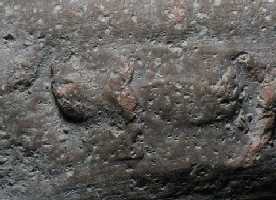
Z2D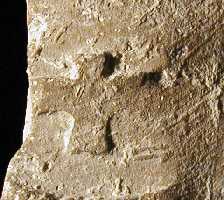

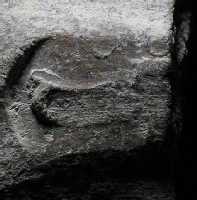
Z2U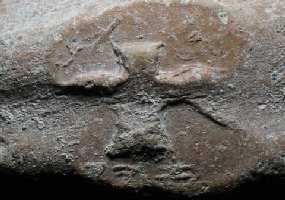


Z2T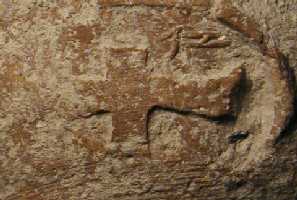
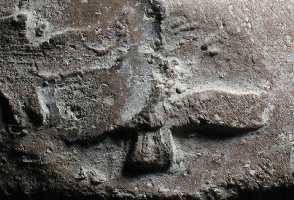
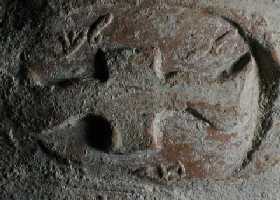
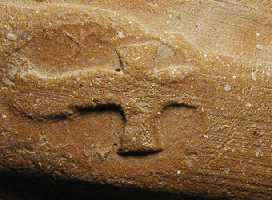
Z4CI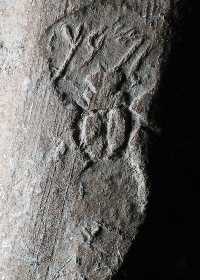
Z4CY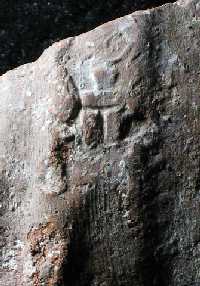

Z4L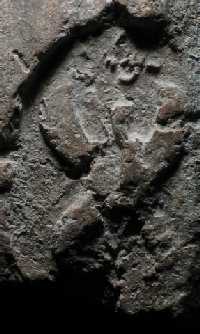
|
|
Number of visits: |
This page was created on March 13, 2003, & last updated on March 15, 2011 |
